Feature
How To Get The Most Out Of Your Resources In Monster Hunter: World
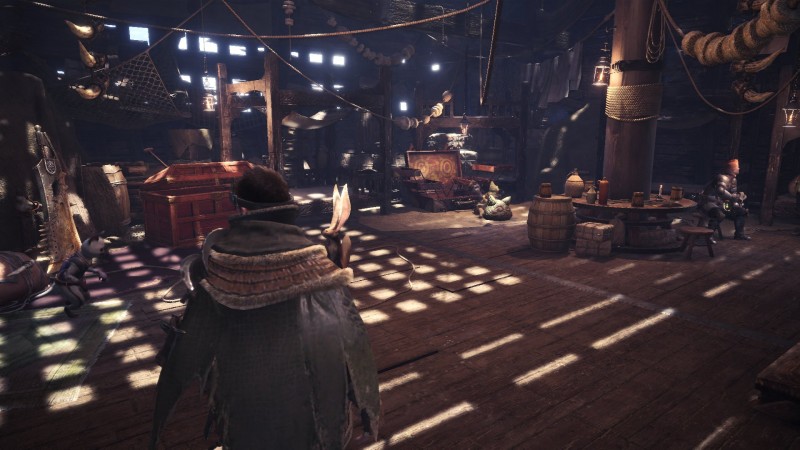
They say home is where the heart is, and the big, splintery heart of Monster Hunter: World is Astera, a half-dock, half-boat town filled with all sorts of resources that will help you become the best Hunter you can be. Here's how to get the most of the town.
General Pointers
- Many of the town's resources won't be available to you at the beginning of the game. Instead, they'll gradually unlock over the course of the story mode. For the ones you have at the start, both the workshop and canteen are probably the places you want to visit the most, as armor-crafting and stats boosting meals are essential to the art of the hunt.
- Many of the vendors and resources will have optional quests for you to do. Do these. They're often pretty simple and unlock useful items, like mantles that make you immune to freezing or increased efficiency for each resource.
- There are two forms of currency in World: money and research points (RP). You earn money by completing questions and selling items. As for RP, you can get them by hunting and tracking monsters. Out of the two, RP are the harder to get if you're not constantly scavenging materials and tracking monsters. Be sure to build up your RP throughout the game, as some vendors only sell their goods for RP.
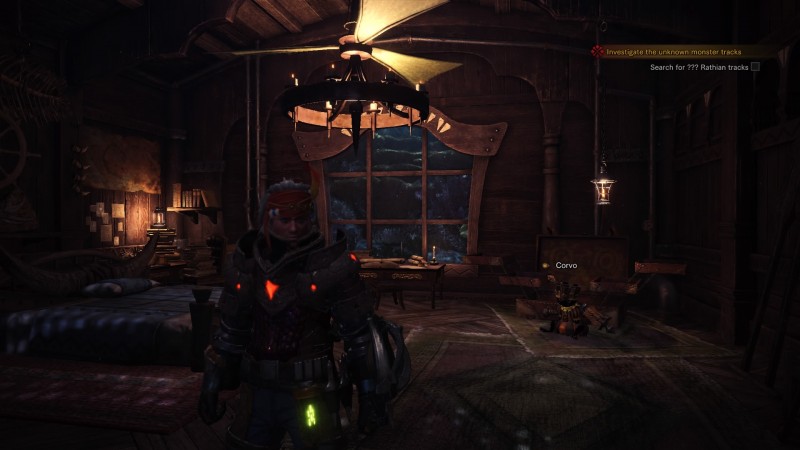
- You have a private quarters where you can manage items and your Palico. You also have a housekeeper. Be sure to check in with the housekeeper from time to time. You might find a neat surprise waiting for you.

Provisions Stockpile Store
- Located in the tradeyard, directly in front of the gate, the provisions stockpile is useful early on as you're learning the ropes, but it ceases to be once you've got the hang of crafting. Still, if you're low on supplies and need some basic health items, this is the place to go.
The Workshop
- Located on the second floor and east, the workshop is where you go for all your armor/weapon crafting needs. In other words: this will probably be the place on Astera you end up visiting the most.
- There is a vendor in the workshop, but you shouldn't be buying weapons that much. Instead, talk to her when you see an exclamation point over her head. It means she has a quest for you with a nice reward.
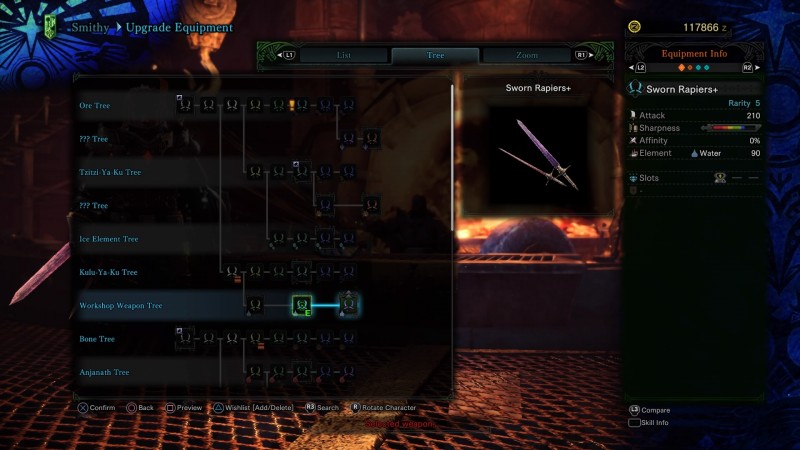
- The second fleet master sees to all your crafting needs, and you're going to have a lot of needs in this department over the course of the game. You can both forge and upgrade your equipment here. It's a really good idea to check back here constantly to upgrade your weapons.
- The upgrade system for weapons and armor work differently. While armor has a simplistic currency you earn for completing investigations (we'll get there later), weapons have entire family trees. Don't worry, it's not as complicated as it seems. You'll be able to see the materials you need to upgrade your weapons to whatever you want them to be (assuming you've run into the materials in the wild). You can also put your desired weapon on a "wishlist" so that the game keeps tabs on the materials you're acquiring out in the world and will send you a helpful notification when you've got all the materials needed.
- Later on in the game, you also get access to Decorations, which are essentially stat boosters you slot into weapons and equipment that gives you buffs. These cannot be crafted but instead are rewarded for higher-end quests. Acquire as many decorations as possible. They're essential allies in later fights.
- If you see a piece of armor but don't know if you want to commit the resources to it because you're afraid it looks goofy on your character, you can preview the item on your character's body before you forge it.
- The workshop is also where you forge your adorable Palico's armor and weapons. Be sure to boost your Palico alongside your own character as much as possible, especially if you're soloing the game.
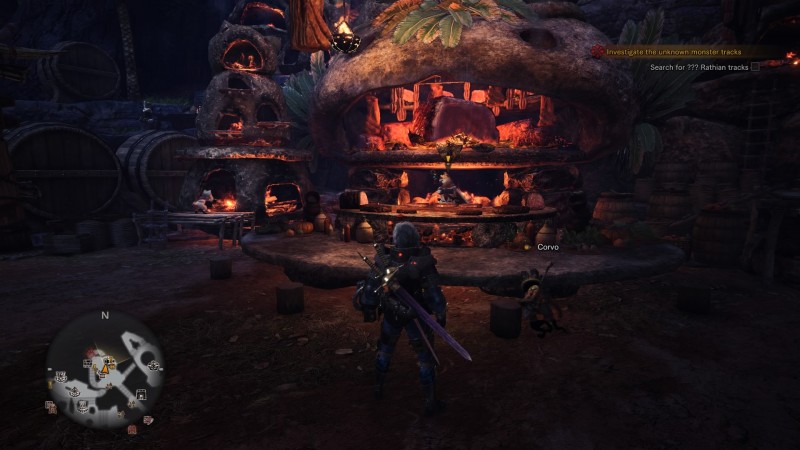
The Canteen
- The canteen is technically accessible from both Astera and your various campsites in the world, with no punishment for using it out in the wild instead of the one in the town. However, you'll miss out on some cool animations.
- The canteen serves you food that gives you various boosts. It's usually best to get those that give you boosts to both health, stamina, and another stat like stamina or attack. Meals last a short amount of time and their effects fade immediately if you faint during an encounter with a beast.
- There's a cooldown in effect once you eat, forcing you to space out your meals, so you can't stack their effects together.
- Talk to the Meowscular Chef whenever he has an exclamation point hovering over his head. Doing quests for him will give him access to more ingredients and dishes, which in turn means more boosts and buffs available to you.
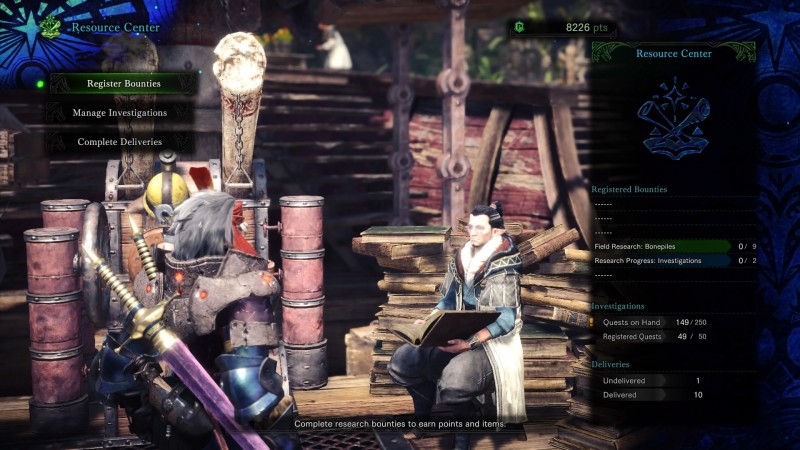
The Resource Center
- One of the most important locations in town is the resource center, where you get most of your sidequests assigned to you. Here, you mange Bounties, Investigations, and Deliveries.
- Bounties are usually a "collect/hunt/complete" kind of quest, with you often having to kill smaller monsters or completing a certain number of quests in an area. You're often rewarded armor spheres and RP for your efforts.
- Investigations are mini-quests that have you hunting bigger game. You're rewarded money and bonus loot materials outside of whatever you carve from your targets.
- Finally, Deliveries are resource-gathering missions that often reward you with bigger in-game items, like more camping locations on the map or devices that help with traversal. Be sure to do every single one of these. It will make your hunter's life easier in the long run.

The Elder Melder
- You get access to the Elder Melder later in the story. He turns out to be one of the most valuable resources at your disposal. Essentially an alchemist, the melder lets you turn items you don't need (like all the bones you've been carrying around) into powerful and rare consumables, like Ancient Potions (which restore health and stamina and max them out). It takes a lot melding to get those items, but at least there's something you can do with all the junk you're carrying.
- A word of caution: while you might be tempted to break down some rare materials you haven't used yet, maybe don't. Keep any material that you're uncertain about around until you know what it does. If it upgrades a weapon or armor you don't care about it, feel free to recycle it.
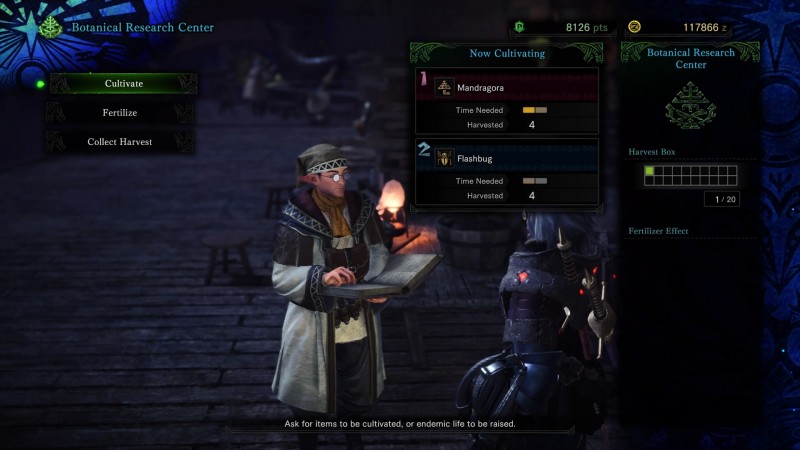
Botanical Research Center
- The Botanical Research Center lets you grow plants and crops you find out in the wild (like herbs and honey) at home. The plants grow between quests, usually two at a time.
- Always be growing crops. It'll save you from having to make trips out into the world to hunt down herbs and mushrooms during the game.
- If you want to increase the cultivation rate for your crops, you can use some fertilizer (and RP) to do so.
- Initially, the research center can only grow a few basic crops. Doing quests for the Center's keeper will expand the variety of items you can cultivate and the amount of crops you can at once, so be sure to do those optional missions.
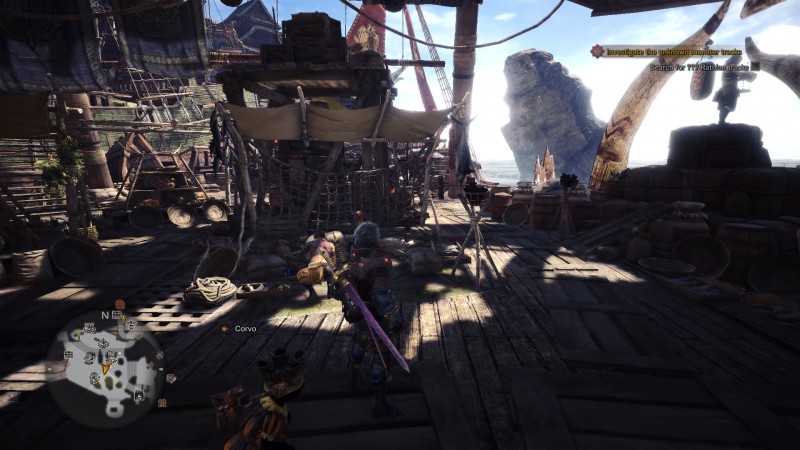
The Argosy
- The Argosy is a ship that comes into dock between quests with shipments of randomized items, both consumables and craft materials.
- The Argosy usually departs after three quests and then returns with another shipment. Each shipment is three tiers. All of them cost a lot of RP, so be cautious about what you're buying. If you really don't need a crafting material, it's probably best you skip the shipment given the steep cost.
- Rarely should you ever buy a shipment for its consumables, since you can usually make whatever consumables you need either through crafting or melding.
- You can customize the cargo types you get with the Argosy. I switched the ship to make sure it only brought in crafting materials once it became clear I could craft anything consumable it brought in. I recommend doing the same for yourself unless you abhor crafting.
For more On Astera, be sure to check out our video feature on the town here.
Popular Content


Get the Game Informer Print Edition!
Explore your favorite games in premium print format, delivered to your door.
- 10 issues per year
- Only $4.80 per issue
- Full digital magazine archive access
- Since 1991