Horizon Zero Dawn: Beginner Tips, Upgrade Guides, And Other Valuable Lessons
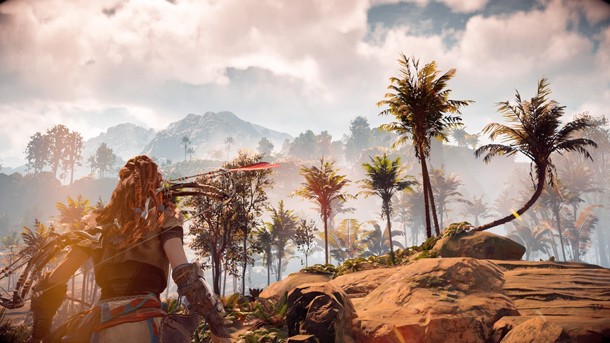
Like a cavewoman stumbling out of the confines of her tribe for the first time, it's easy to feel overwhelmed by Horizon Zero Dawn's massive world. While the game does a good job of imparting the basics of combat and progression, a lot of questions remain. What are the best skills to go for? What inventory upgrades should I prioritize? What loot should I hold onto, and what can I sell? Keep reading for the answers to these questions and much, much more.
I've played a lot of Horizon Zero Dawn lately, and while I haven't completed everything there is to see and do in the game, I have learned plenty of valuable lessons during my 50+ hour playthrough that I wish I had known sooner. Here's my list of spoiler-free recommendations for beginners.
Skill Upgrades: What
To Get And When
Horizon Zero Dawn features a variety of abilities that you
can unlock via skills points earned from leveling up and completing certain
missions. These skills fall into three main categories: Prowler (stealth), Brave
(combat), and Forager (crafting and enemy overrides). While the abilities are
aligned across nine columns, pay special
attention to the lines that connect certain skills – some trees end early
or fan out into other columns, so make sure you aren't buying up the wrong
skills to get to the ability you want.
Assuming you do a good chunk of the side content, you should have enough points to buy almost every ability, but some are definitely more helpful than others. Here are my recommendations on what to focus on, which provide a well-rounded mix of stealth and strength.
First Priority Buys:
Silent Strike: Without a doubt, this ability should be your first buy. The stealth move lets you instantly and silently kill a nearby enemy when you are hidden, which is of great help for clearing out bandit camps and taking down early, but formidable, machines. Later robots will not be killed by the attack, but it will knock them down for a period of time.
Concentration: Another must-have, activating Concentration temporarily slows down time when aiming one of Aloy's weapons. Like Silent Strike, this ability is vital for a stealthy approach, allowing you ample time to line up headshots, or target specific components on mechanical foes.
Lure Call: Aloy can use the rocks she collects to distract patrolling enemies, but the Lure Call is far more efficient for stealth kills. The ability allows you to whistle at a specific enemy (whoever is closest to your center view), who will then come to investigate without fail. Find a patch of tall grass to hide in, whistle, and take them down with a Silent Strike attack. Piece of cake.
Second Priority:
Gatherer, Scavenger, Disarm Traps, Tinker: The first three skills you bought provide the basis for Horizon's stealth combat, and will serve you well for the opening hours. After that, I recommend making a beeline for the Tinker ability, which allows you to remove the stat-boosting mods that you slot into your weapons and armor. Tinker is a heavy investment; it's located at the end of one of the Forager lines, requiring you to buy three other abilities before you can unlock it. However, it's definitely worth it. You will only acquire a handful of weapons in the game, but will consistently be finding better and more powerful mods to boost them. Having the ability to experiment with different combos or effortlessly move your best mods to a different weapon is a big help. Additionally, the abilities you need to unlock first are also helpful: Gatherer and Scavenger provide more resources from plants and downed foes respectively, and Disarm Traps lets you pick up unused or misplaced traps.
Third Priority:
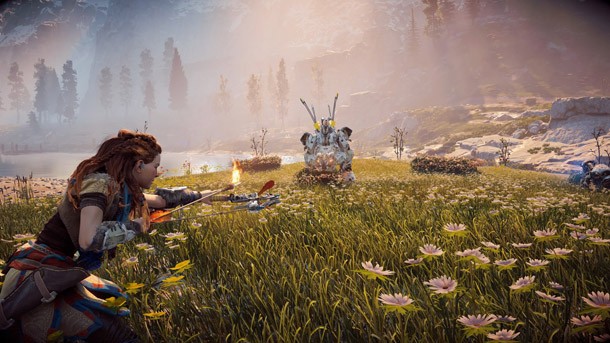
Precision, Precision +, Knockdown: Thanks to weapon mods and the myriad different arrow types you'll be unlocking, you won't have to worry about your ranged capabilities too much in the early hours of the game. That's why we're focusing our next group of skill points on melee abilities instead. Precision and Precision + will boost your light attacks and help knock off armor and components, while Knockdown will – surprise! – knock down foes, leaving them vulnerable to follow-up attacks. Which leads us to...
Critical Hit, Critical Hit+: These two abilities allow Aloy to stick a downed enemy for major damage. Thanks to their position in the skill tree, they are also cheaper – you can pick both of them up for the price of a single skill further down the tree. That said, you may want to check how much damage the standard Critical Hit attack is doing; if it's consistently killing off the enemies you're up against, you can put off buying the bonus damage until you need it.
Fourth Priority:
Heavy Lifter, Double Shot, Triple Shot: At some point, your standard bow damage won't be cutting it anymore – precision arrows will no longer pack enough of a punch to take down elite bandits, and bigger machines shrug off standard arrows. That's where the Double and Triple Shot arrows come in. Aloy can notch up multiple projectiles before letting loose, which will once again boost your stealth game back into one-hit-kill territory. Like Critical Hit, see how Double Shot does on its own – if you're already happy with the amount of damage it's doing, hold off on the final upgrade until later. As for Heavy Lifter – it's a rather useless upgrade, but necessary purchase to get to Double Shot, so you'll just have to eat the loss.
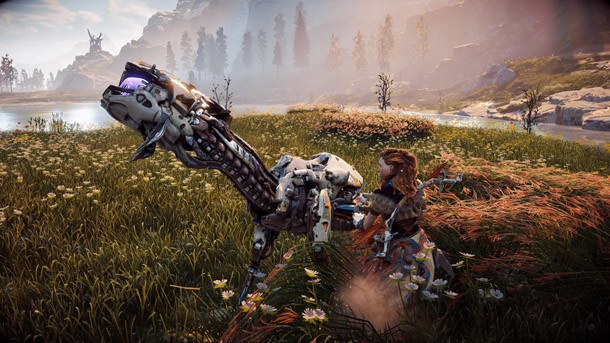
Concentration+, Fast Reload: What good is having the ability to rack up multiple arrows if you don't have enough time to fire them off? Concentration+ gives you a few more seconds to line up a slow-mo headshot, and Fast Reload will help mitigate misses by taking less time. If that isn't an issue for you (either you've boosted reload speed via mods or you're the type of braggart that never misses), then ignore this upgrade.
Fifth Priority:
By this point you have acquired Horizon's most useful abilities, so what you purchase next depends on your playstyle and preference:
Silent Drop, Low Profile, Dodge Prowess, and Quiet Sprint are quality-of-life upgrades that will let you move around more freely without alerting enemies.
Healer and Herbalist are cheap health upgrades that will keep you alive longer (if you're dying a lot, you may want to consider purchasing them earlier).
Ammo Crafter and Scavenger+ will help alleviate resource gathering.
Combat Override and Combat Override+ will keep allied machines fighting by your side longer.
I purchased these ability chains in this order, but feel free to deviate as you see fit.
Not Worth It:
Finally, we have the skills that I didn't find particularly useful, though your mileage may vary based on play style.
Hunter Reflexes: The ability to trigger slo-mo when jumping or sliding sounds cool, but in practice I barely ever use it. You're better off just using Concentration, or firing off arrows in real-time.
Balanced Aim: How often do you think you'll need to balance on a rope and fire off arrows at the same time? If you answered "never," you're correct! Just keep the two skill points and shoot your arrows from the platform the rope is connected to. Duh.
Fighting Back: This ability deals extra heavy spear damage when you're health is low. But guess what? If you're health is low, you don't want to be running up to a deadly enemy to perform melee attacks. Hang back, heal, and use your arrows instead – you'll stay alive and save yourself three skill points to boot.
Call Mount +: This ability lets you call in a mount even if you don't currently have one tamed. I guess that could be helpful, but I didn't use mounts all that much to begin with, and you don't have to search too hard to find one in the wild.
All The Other Strike Abilities: The Strike abilities make up a big chunk of the Prowler skills, but aside from Silent Strike, they can be easily skipped. Strike From Above/Below are both highly situational attacks; landing a headshot with one or more arrows is far quicker and easier than getting into position to pull off one of these specialty kills. Leader Strike, which allows you to perform silent kills on elite humans, might be worth it if it wasn't at the bottom of the skill tree – instead you can still one-hit kill them with a headshot if you use precision arrows and Double/Triple Shot. The last two Strike abilities, Strong Strike and Strong Strike +, simply up the damage on these skills that you probably don't want to buy or use anyway, making the entire branch easy to ignore.
Coming up next: We outline our favorites weapons, which inventory upgrades to prioritize, and more...
Weapon Info And Suggestions:
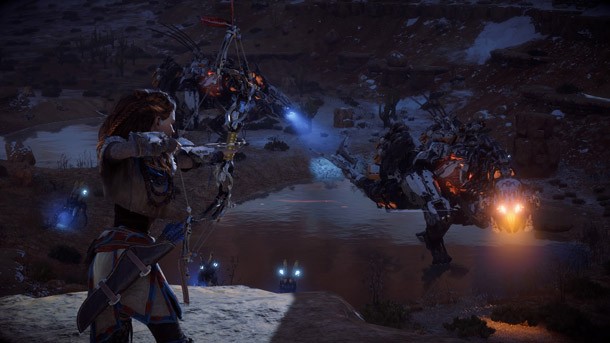
Each of Horizon Zero Dawn's eight weapons come in three
distinct tiers: normal (green), Carja (blue), and Shadow (purple). The handling
and damage of each weapon tier is identical; instead each higher tier adds
another ammo type and mod slot – Carja weapons support two ammo types and two
mod slots, and Shadow weapons support three ammo types and three mod slots. As
such, you're better off not buying
normal and Carja weapons, and instead go straight to buying Shadow weapons instead. It won't take long to find vendors
that sell Shadow-tier weapons, so save up and buy them as soon as you get the
chance; you'll use them for the rest of the game.
Aloy can only equip four weapons at a time, so you'll have to make some tough calls about what to carry. Which weapons you choose will ultimately depend on your playstyle, but after much experimenting, I settled into the following four weapons:
Shadow Hunter Bow: There are three types of bows in Horizon: hunter, sharpshot, and war. Aloy starts with the game with a hunter bow, and the tier-three incarnation of the weapon remains a staple of my arsenal. It sports high base handling (which translates to fast reload times), and the fire and hardpoint arrows are both highly useful and cheap to craft.
Shadow Sharpshot Bow: Carrying two bows may seem like overkill, but each has its own vital uses. The sharpshot bow zooms in further than the hunter bow and uses high-damage precision arrows, making it my go-to choice for stealthy headshots. The tearblast arrows are also extremely useful for blowing armor and components off of enemies, which in turn can open them up to extra damage or disable their deadly attacks.
Shadow Tripcaster: This upgraded tripcaster lays down three different types of wire traps: electric, flame, and blast. These traps can be super helpful when you have time to set up before a fight, and can aid a hasty retreat (don't worry, you can't trigger them yourself). The blast wire is especially useful, as everything is equally susceptible to explosive damage. I ultimately found the Tripcaster to be more helpful than the ropecaster, which pins enemies to the ground – in most circumstances, it's better to deal direct damage than simply immobilize an enemy.
Shadow Sling: I overlooked the sling for far too long during my playthrough, but once I experimented with it, I never went back. Slings lob slow but powerful area-of-effect projectiles. While the Shadow Sling's fire and electric bombs are nice, I keep this one around for the freeze bombs, which greatly amplify follow-up arrow attacks.

Outfit Suggestions:
Like weapons, Horizon's outfits come in three tiers: light
(green), medium (blue), and heavy (purple). Unlike weapons, outfits feature a
wider range of effects, from reduced damage to elemental resistance, to increased
stealth. Generally speaking, higher tier outfits feature more mod slots, but
your biggest motivator when selecting a new outfit is probably going be
superficial – a lot of the outfits just look downright goofy. If you're willing
to dress like a bozo for a slight stat increase, feel free. I ended up going with
a Nora Brave outfit for most of the game, which I augmented with a +20% stealth
mod. Early in the game you'll stumble upon an optional quest line that teases a
very special set of armor. Acquiring the one of a kind outfit requires you to collect power cells hidden in areas you visit during main quests, so you won't be able to complete it until much later in the game. However, it's worth seeing through; the armor's unique ability is quite powerful.
Carry Capacity Upgrades: What To Get And When
Like other open-world games, Aloy's inventory space is
limited, but can be upgraded via crafting items. These upgrades require you to
hunt the world's organic animals, including boars, foxes, and rabbits. Some of
these upgrades are super useful, while others are not. Here's my recommendation
for what to prioritize.
First Priority:
Resources Satchel, Modifications Satchel. A whole lot of Horizon Zero Dawn hinges on its crafting mechanics. Aloy will need to constantly scavenge organic items in the environment, mechanical components from fallen machines, and loot enemies for valuables that can be sold to vendors. All of these items go into your resource satchel, so you'll want to expand it as quick as possible. Many items you pick up stack (for instance, you can carry up to 250 sticks per inventory slot), but you'll be surprised how quickly you'll fill up your satchel even when you max out your inventory at 100 slots. You'll also want to upgrade your Modifications Satchel – it will take longer to fill up, but you don't want to be forced between fast traveling back to a merchant or dumping mods on the floor when you do hit your limit.
Second Priority:
Arrows. Simply put, Aloy uses a LOT of arrows, so you'll want to upgrade your pouches sooner rather than later. However, arrows come in second because it's largely a matter of convenience – crafting arrows on the fly from the weapon select menu is a cinch, so you don't really need the extra space; it just means fewer interruptions.
Third Priority:
Tripcaster/Sling/Etc. After you're happy with your arrows, you'll want to work on the capacity of your other equipped weapons. In reality, you'll probably be upgrading them simultaneously (each upgrade requires different animal types, so two upgrades are rarely competing with one another), but I rank these slightly lower because you will be using them less, so you will burn through ammo slower.
Fourth Priority:
Traps And Potions. Again, you can upgrade these when you want, but in practice I didn't use them much. Besides the health potions, I rarely used the other stat-boosting consumables, and while the traps are useful, they are stuck in your scroll of items and can't be crafted on the fly (you'll have to enter the main menu). As a result I relied more on my tripcaster and sling, and thus didn't worry about upgrading them.
Not Worth It:
Weapons Satchel/Outfit Satchel. As mentioned before, you will only be using a handful of weapons through the majority of the game, so you don't need a ton of carrying space. I also didn't buy a ton of outfits, so one or two upgrades more than sufficed for both satchels.
Coming up next: A few more spoiler-free tips and lessons I wish I had known sooner...
General Tips:
Talk to every new vendor you meet: Even if you're not interested in buying anything, you can grab a Free Sample Loot Box from a merchant's "Treasure Boxes" category, which will contain an assortment of helpful crafting items.
Buy the Golden Fast Travel Pack ASAP: Fast travel in Horizon Zero Dawn requires the use of a consumable item that you must craft or purchase, appropriately called a Fast Travel Pack. However, some vendors also sell a Golden Fast Travel Pack, and you'll want to find and buy one as soon as you can. This valuable item is buried in a merchant's Resources category, and unlocks unlimited fast traveling. You'll only need a handful of shards, some fatty meat, and a fox skin to buy it, so make it a top priority, and then fast travel as often as you please!
Hold onto crafting items/enemy drops: Even after maxing out the capacity of your resource satchel, you'll be surprised how quickly it can fill up thanks to all of the loot you'll be collecting. However, there are some things you should consider before you go on a major selling spree at your local merchant. Naturally, you'll want to hold onto at least a few stacks of every crafting component that's used to make ammo – you don't want to run out in the middle of battle. You'll also want to hold onto the Hearts, Lenses, and Braiding that downed machines award. These items can fetch you a pretty penny from merchants, but they are also required to buy some outfits and weapons, in addition to the main currency. So, what should you sell? Check the "used for" descriptions of the items in your inventory; anything that only lists "selling for metal scraps" can be pawned off without a second thought.
Figure out your damage limits: Most of Horizon's crafting items are plentiful, but the one bottleneck I frequently ran into was wire – the common resource is used in many arrow types, including the heavy-hitting precision arrows. As such, it's worth experimenting with different arrows and figuring out what your damage limits are. Can you one-shot a human enemy with a regular arrow to the head instead of a precision arrow? Can you take out an elite enemy with a double shot? What if you slot in your best damage mod? Figuring out when you can use cheaper arrows will not only help you avoid crafting shortages, it also helps solidify your game plan when approaching battles.
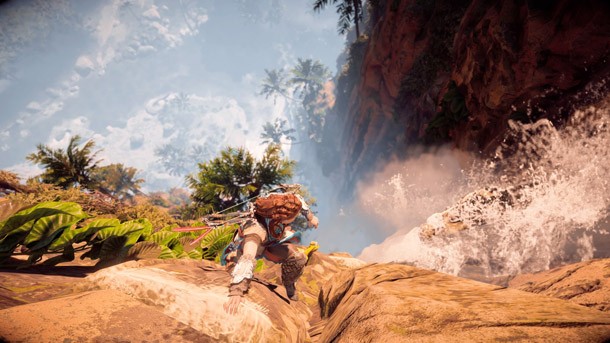
Complete the Tallneck and Cauldron activities: A lot of Horizon's side activities are standard fare for open-world games, and can be freely skipped. However, Tallneck and Cauldron missions are worth tracking down. Tallnecks are Horizon's version of towers in Assassin's Creed, and reveal new areas on your map and points of interest. They're also more fun than AC's climbing challenges and change up the formula as you progress. Cauldrons are also interesting, and while I don't want to say much for the sake of spoilers, completing them grants you the ability to override new machine types. Completing all the entries for both activities is worth doing before you finish the story. On the other hand...
You can skip the collectibles: Horizon has four different types of collectibles scattered about the world: vantage points, ancient vessels, metal flowers, and Banuk figures. While the vantage points in particular provide a bit more depth to the lore, none of these collectibles are particularly vital; tracking them down will only net you a handful of metal shards and some mod boxes, which won't matter much in the end-game scenario.
The Hunting Trials probably aren't worth it either: Aloy will stumble upon several different hunting grounds during her adventure, which offer the opportunity to earn special lodge versions of the war bow, ropecaster, and blast sling. These are the most powerful weapon versions in the game, but aren't really worth it in the long run. Why? Well, in order to earn them, you have to complete all 15 trials, under increasingly challenging conditions. Additionally, the weapons are only marginally better than the Shadow versions of those weapons that you'll have access to relatively early in the game. If you really dig the challenge and variety of the hunting missions, than go for it – otherwise you can just focus on experimenting with different mod loadouts.
Horizon Zero Dawn is out today on PlayStation 4. For more on the game, read our review, watch our archived live stream, listen to our G.I. Show discussion, or watch our video breakdown. For a more humorous take on Horizon Zero Dawn, check out the latest Funny To A Point.

Get the Game Informer Print Edition!
Explore your favorite games in premium print format, delivered to your door.
- 10 issues per year
- Only $4.80 per issue
- Full digital magazine archive access
- Since 1991


